Do you ever glance at a magazine spread of a house and get the feeling that you’re getting an intimate view into a real home where someone actually lives? It’s one thing to admire the stunning details of a meticulously plotted interior design, but it takes a real master of their craft to create a space and take photos that make you actually want to live there.
When it comes to taking photos of a home you are planning to sell, you want to capture this sentiment. You want to take photos that exude centerfold-worthy energy: high quality, clear, well-lit, perfectly composed, etc. But at the same time, you don’t want them to be so overproduced that potential buyers can’t imagine themselves living in the space.
How Can You Prepare Your House for Beautiful Photographs?
There are tons of things you can do to make your home shine from the inside out. The goal is to make your listing stand out from the competition, so make sure you’re doing everything you can to spruce up the space and ensure quality, eye-catching photos.
Make Sure You Cover All the Bases
Creating a base list of all the essential rooms will ensure that you don’t leave anything unphotographed. If your listing says the home has three bedrooms, but you only photograph one or two, this isn’t a good look. Potential buyers will want to see every room of the home to make sure it is worth their while to come tour it in person. Also, if you skip over certain areas of your home, people will wonder if you’re trying to hide something.
Here are some of the specific shots you should take to include in your listing:
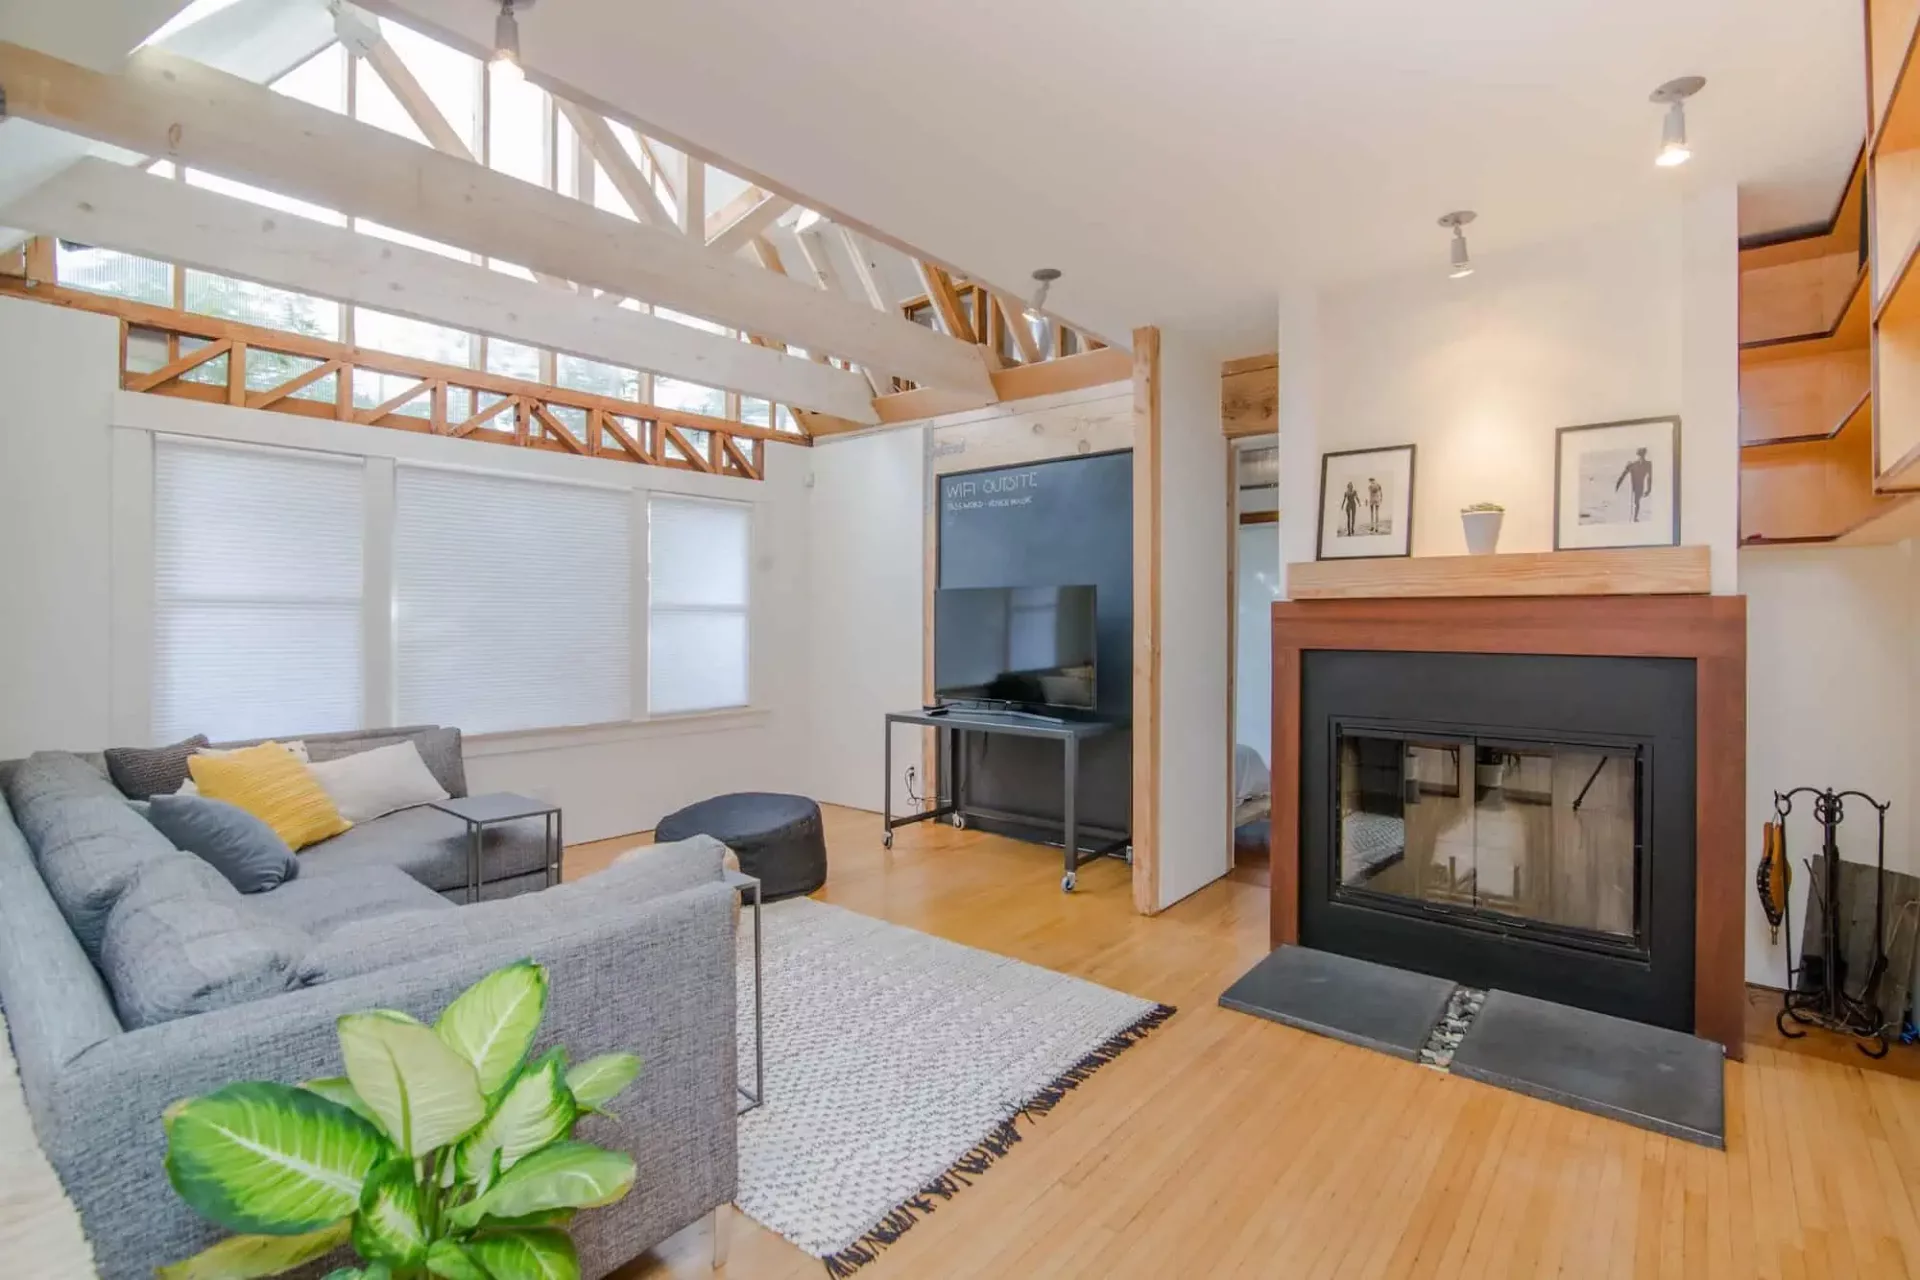
- 2 wide-angle shots of ALL bedrooms, the kitchen, and the living room (each).
- 1 photo of each bathroom in the house.
- 1–3 backyard pictures except for certain individuality. And one or two shots from the front of the house exposing the ‘curb appeal.’
- One picture of every additional room (laundry, office, mud room, etc).
Declutter and Clean
Too much clutter can make a space look and feel suffocating and claustrophobic, which is definitely not what you want to capture in your photos. The idea is to make the home feel open, clean, and full of possibilities, so that the prospective new owners can more easily envision their own personal belongings inside. For the purpose of photographing your house, you don’t necessarily have to do a complete overhaul of all of your possessions, just the very visible ones. Anything you can think of to clear up more space, DO IT!
Oh yeah… and cleaning is a MUST! After you declutter, you can more easily give your home a thorough scrub-down. This is a crucial step, because leaving your house covered in a layer of dust and grime is a surefire way to turn off buyers. Take extra care in mopping the floors and dusting/scrubbing surface areas. And don’t forget about the windows, natural light is key in making your home appear more open and spacious. The more natural light that can filter through, the better.
After you’ve decluttered your items and personal belongings and all of the little doodads and knick-knacks are out of your way, you can really focus on making the space look nice.
Rearrange Furniture Thoughtfully
Take it the extra mile by decluttering and rearranging bigger pieces in the home like furniture. Rearranging your furniture and decor can do wonders for a space. Plus, it’s kinda fun. And hey, this could be your opportunity to try out Feng Shui! When you’re doing this, you want to focus on a few things. First, the main goal is to make the space more functional. Consider what the purpose of the room is, and remove or add furniture to cater to the functionality of the room. For example, there shouldn’t be a craft table in the living room or a rocking chair in the kitchen.
Also, you want to consider the flow and accessibility of each room. Guests should be able to enter and exit the room without bumping into tables or tripping over ottomans. There are also ways to arrange your furniture to give the room the appearance of spaciousness. Don’t arrange furniture diagonally across corners, this reduces the size of the room immensely and leaves you with a non-functional corner area that’s only really good for collecting miscellaneous junk that falls down behind there. You’ll also want to get rid of any furniture that is kind of just floating in the room with no real place or purpose. It’s much better to have a few really nice, functional pieces of furniture than a vast number of not-so-useful pieces. Having the furniture set up in a way that appears functional and thoughtful will make a huge difference in selling the space as a great place to live.
Go Through the House before You Begin Shooting
Put yourself in the shoes of a potential buyer as you walk through your own home. Take note of how the space flows. Are you able to walk through without bumping into things? Does the setup of the furniture work for the room? Is there adequate space? What looks good? What needs to be fixed and/or adjusted? Ask yourself what would stand out to you if you were seeing your home with fresh eyes. This will allow you to make necessary changes before shooting photos.
Lighting
The key to taking great photos is natural light. In order to get as much light into the room as possible, open all of the blinds, curtains, and even doors to encourage as much light to filter into the space as possible. Also, clean your windows thoroughly the day before, as dusty or dirty windows will prevent light from coming through. Avoid cloudy, rainy, or overcast days for shooting, as the lighting will make the space look dark and dingy.
Outdoor photos (like the front of the house, front yard, backyard, etc) are best taken at dusk, or during the “golden hour” when the sun is just starting to set. This will give everything a nice, pleasing tone.
If you really want to get fancy with it, the real best time to shoot will depend on which direction each room (and the house itself) faces. This is because it is best to take photos when the sun is behind the camera to avoid awkward shadows and get the best lighting possible.
Always take test shots and make adjustments as you go to ensure you have the best settings for the lighting. Keep in mind that when you’re employing natural lighting, as the sun changes position in the sky, so will the position of the light. Therefore, it’s important that you keep checking in to make sure the settings on your camera are adjusted accordingly.
Try to avoid relying on artificial lighting, as it makes for inconsistent colors, highlights, and shadows and can make the room look dingy.
Angles, Angles, Angles
Be sure to keep your camera straight when shooting various angles. This helps prevent distortion that will have to be straightened with a photo editing software later. You will recognize that the vertical lines start to sink if you point the camera so slightly up or down.
The ideal height is 5 ft (152.5 cm) for photographing the property. Every home is a little different. But this is the highest level which is the most natural and balanced.
When you tilt up too far, you tend to see too much ceiling and too little living space. If you angle down too far, you appear to see too many furnishings and not enough space. Finding this perfect balance is key to capturing the best photos.
Touch-ups and Editing
Your photos will really come together afterwards when you apply the editing and adjustments. At bare minimum, you’ll want to increase the brightness and color correct. You can hire a professional photographer or designer to do this for you, as photo editing software can be expensive and there’s definitely a learning curve.
You Can Take High-Quality, Amazing Photos!
The prospect of having to take your own photos can be daunting. After all, it’s not exactly an easy task. As you can see, there’s a lot that goes into taking great photos of your home. Worst case, if you have the budget, you can hire a professional and sit back and relax! But once you get in the swing of things and follow the tips above, you’re sure to produce some stunning photos.
Get Your No Obligation Offer in 24 Hours or Less!
Give us a call at (702) 213-9800 or fill out our form to get started.